Are you a solo travel blogger, a growing tour company, or a well-established travel agency, a high-performing travel website can be your ticket to more bookings, better brand visibility, and long-term success. In this guide, we’ll walk you through how to build a travel business site with WordPress using the right tools, strategies, and plugins.
Why WordPress Is Perfect for Your Travel Business
If you want to create a travel website that’s scalable, secure, and easy to manage, WordPress is your best bet. With just a few clicks, you can install WordPress, choose from thousands of themes, and activate powerful plugins tailored to the travel industry. It’s flexible enough for travel blogs, travel booking websites, and full-service travel agency websites.
Key Features That Make WordPress Ideal
- Massive theme and plugin ecosystem
- SEO-friendly architecture for better search engine rankings
- Easy content management with built-in blog posts and pages
- Integration with payment gateways and booking systems
Step-by-Step Guide to Building Your Travel Website
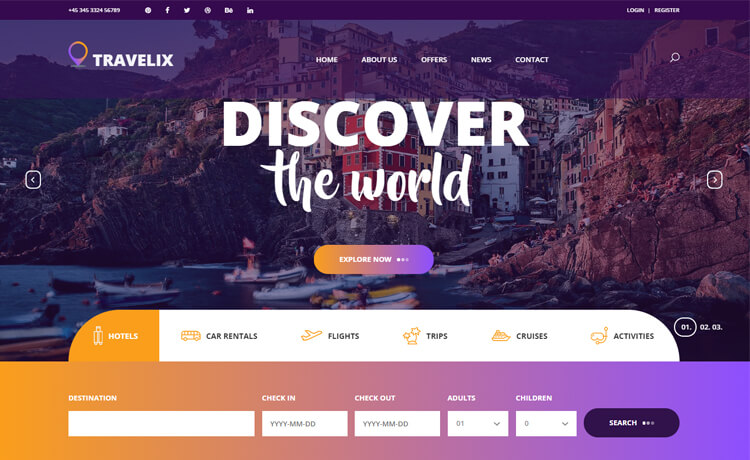
Let’s explore a step by step guide to creating a feature-rich, professional-looking travel website using WordPress.
Step 1: Choose a Domain Name and Hosting
To begin your website creation journey, you’ll need a domain and hosting account.
Choose a Domain Name
Pick a domain that reflects your brand. Short, memorable, and relevant names work best.
Select a Hosting Provider
Go with reliable hosting providers that specialize in WordPress hosting. Many hosting providers offer a free domain name, SSL certificate, and easy-to-navigate dashboards.
Top choices include:
Once you have your hosting account, use their one-click installation feature to install WordPress.
Read More: How to Build Website Credibility with WordPress Sites
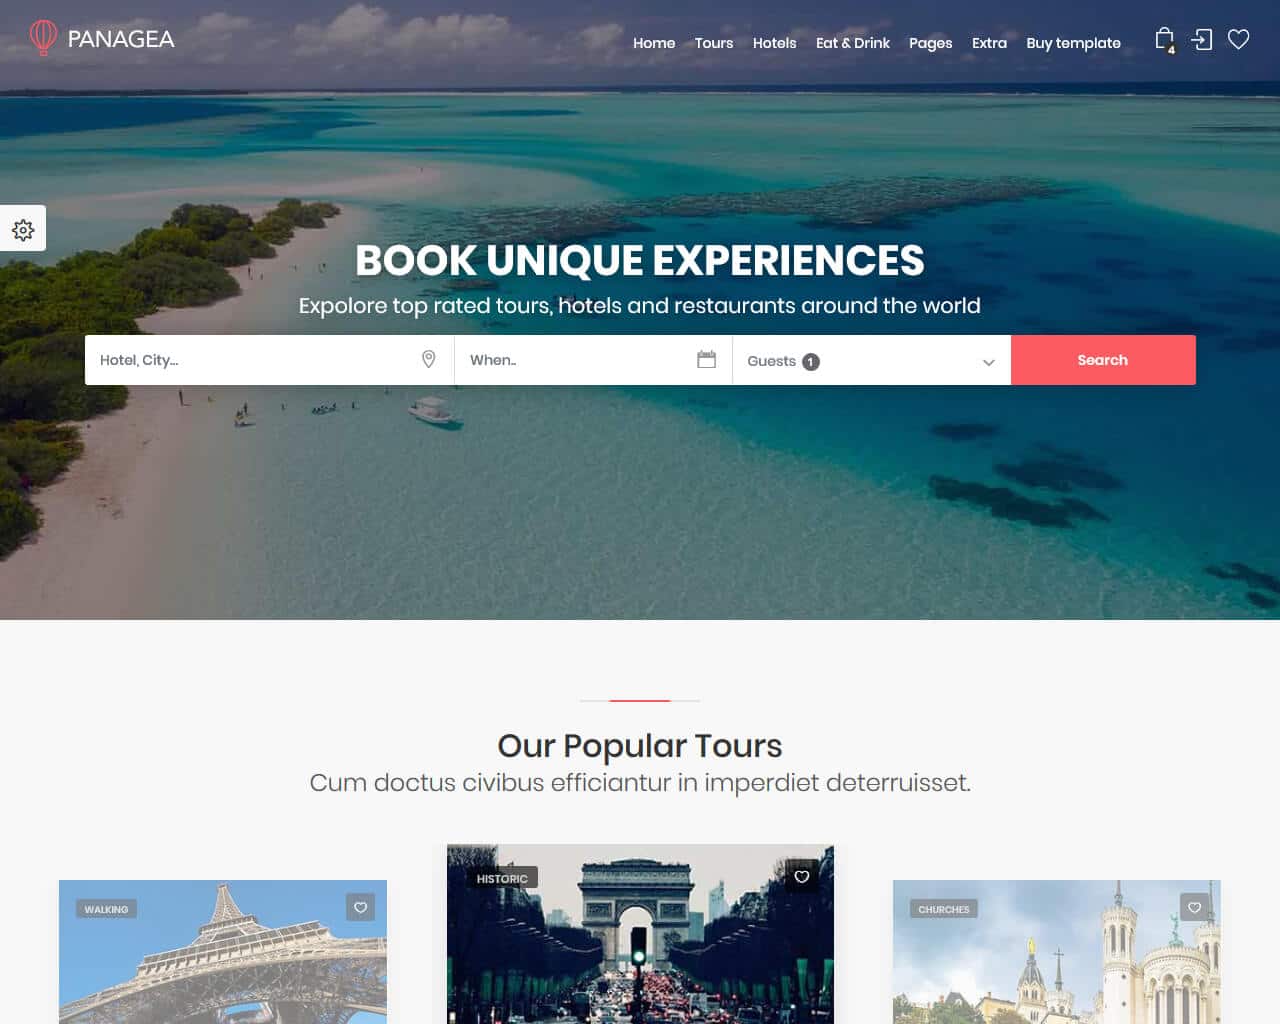
Step 2: Select a Travel Agency WordPress Theme
Your theme sets the tone for your brand. A responsive, fast-loading WordPress theme enhances website speed and user experience.
Look for:
- Customization options with a drag and drop builder
- Integration with booking plugins
- Pre-built templates like a travel blog template or destination page
Great options include:
- Travel Agency WordPress Theme by Rara
- Astra
- OceanWP
- Neve
Launch your Travel Business Site
We can get you started with WordPress to turn your travel passion into a thriving online venture.
Step 3: Install Essential Plugins
Next, navigate to your WordPress admin dashboard and go to the plugins page. Add plugins that will power your site’s functionality.
Must-Have Plugins
- WP Travel Engine: The ultimate travel engine plugin for managing trip packages, itineraries, and bookings.
- WP Travel: Similar to WP Travel Engine but with a broader ecosystem.
- Yoast SEO or Rank Math: For strong search engine optimization.
- Elementor: A powerful page builder with a drag and drop builder interface.
- WPForms: For custom booking forms and contact forms.
Explore: Best WordPress Contact Form Plugins for 2024
Step 4: Add Your Travel Packages and Tours
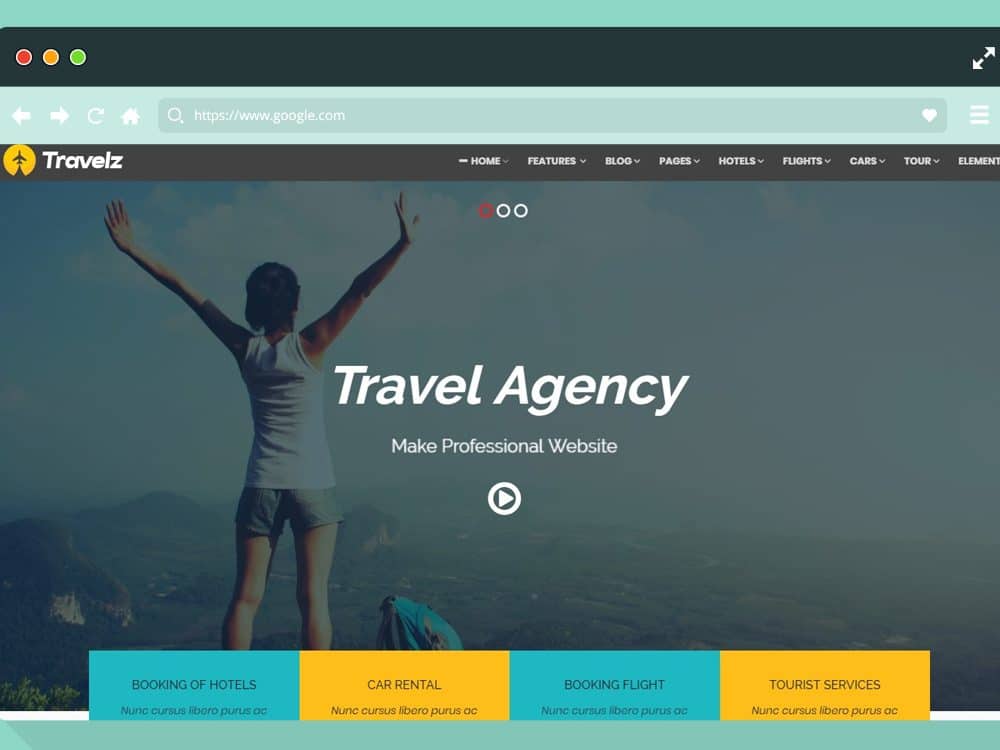
With WP Travel Engine plugin or WP Travel, you can add and manage travel packages, tour listings, and detailed itineraries.
Key Fields to Include:
- Package Name
- Overview and Description
- Destination
- Itinerary with dates
- Price and Discounts
- Payment Gateway options (credit card, direct bank transfer, PayPal)
- Booking availability calendar
Step 5: Create Essential Pages
Your travel agency website should include:
- Homepage: Highlight top destinations, tour highlights, and travel deals
- Destination Page: Showcase locations with high quality images and destination guides
- Contact Page: Include a form using WPForms
- About Page: Share your story and team background
- Blog Page: Post regular travel tips, news, and personal travel stories
Step 6: Focus on SEO and Content
Even the best WordPress site needs visibility. Good search engine optimization ensures you show up when users search for travel experiences, tours, or destination tips.
SEO Tips:
- Use relevant keywords in your page titles and blog posts
- Create blog content that answers common travel questions
- Submit your site to search engines (Google, Bing)
- Add meta descriptions and image alt text
Content ideas include:
- Top 10 travel tips for [Destination]
- Best time to visit [City/Country]
- Featured travel blog posts from your own trips or customers
Step 7: Optimize for Bookings and UX
To run a fully functional travel booking website, ensure your site is user-friendly and conversion-ready.
Tips to Boost Bookings:
- Keep navigation easy to navigate
- Use clear CTAs like “Book Now” or “View Package”
- Speed up your website speed with caching and image optimization
- Test the booking system from a user’s perspective
Check Out: Designed for Success: How Product UI/UX Enhances Customer Engagement
Step 8: Promote Your Site
Use multiple channels to grow your audience and bring in leads.
- Social media marketing
- Paid advertising (Google Ads, Facebook)
- Email marketing with newsletters and offers
- Collaborate with travel blogger networks
Step 9: Monitor and Improve
No travel business website is ever “done.”
Track performance with:
- Google Analytics
- WP Travel Engine reports
- Feedback from customers
Wrapping Up
Learning how to build a travel business site with WordPress gives you the tools to take control of your brand online. From selecting the right travel agency WordPress theme to installing the powerful WP Travel Engine plugin, you now have a complete roadmap.
Whether you’re creating a travel blog, a full-service travel agency, or a travel booking website, WordPress gives you all the tools you need to succeed. With strong search engine optimization, engaging content, and a user-friendly booking system, your site can climb the search engine rankings and convert curious visitors into happy travelers.

