Designing in Figma is second nature for most creators today. It is fast, collaborative, and perfect for visualizing digital products. But once the design is done, there is often a frustrating pause. Developers step in, handoffs happen, and momentum slows down. What if that delay could disappear?
Thanks to the seamless integration between Figma, Builder.io, and Lovable, your designs no longer have to sit idle. You can now export structured layouts directly from Figma and turn them into real, functioning apps inside Lovable. No code. No roadblocks.
This workflow unlocks a completely new way of building. Start with your design in Figma, export it through Builder.io, and launch a working app using Lovable’s AI-powered platform. Whether you are testing an MVP, crafting a client prototype, or just building out ideas on your own, the entire process is now in your hands.
In this guide, you will learn how to:
- Structure your Figma file for clean export
- Use the Builder.io plugin to bridge the gap
- Import your design into Lovable and bring it to life
- Deploy a working app faster than ever before
Let’s explore how to go from design to deployment without writing a single line of code.
Why Exporting Figma to Lovable Changes Everything
For years, designers have relied on handoffs. You create a beautiful design in Figma, then pass it over to developers and wait for them to bring it to life. It works, but it slows things down, introduces misinterpretation, and limits what designers can actually build themselves.
The Figma to Lovable flow turns that entire process on its head.
By using Builder.io as the bridge, and Lovable as the AI-powered builder, designers can now go far beyond static mockups. You can create structured layouts in Figma, export them with real components, and instantly turn them into live, full stack applications. All of this happens in a smooth, visual environment withno coding required.
Here’s why this changes the game:
- Designers gain full control from start to finish
- Development bottlenecks disappear, especially for early-stage prototypes
- Teams iterate faster, test more ideas, and launch quicker
- AI helps fill in the gaps, like responsiveness, layout tweaks, and backend logic
Instead of just presenting your vision, you can now build it. You can ship real products, test working concepts, and collaborate on live projects without needing to wait on a developer.
This isn’t just a shortcut. It is a shift in how digital products get made. And it all starts with preparing your Figma design the right way.
Ready to dive in? Let’s start with the design prep.
Need Help Turning Your AI Mockup Into a Real Website?
Seahawk’s expert team can transform your prototype or AI concept into a high-performing custom WordPress site.
Prepare Your Figma Design for Export
Before jumping into the export process, your Figma design needs a little structure. A well-prepared file ensures smooth translation into Builder.io and then into Lovable. This step is crucial for turning your design into a real, responsive, and editable app.
Use Auto Layout for Structure
Auto Layout is the foundation for making your design export-ready. Without it, Builder.io may not interpret the layout properly.
Here is what to do:
- Apply Auto Layout to all parent frames and containers
- Set clear padding and spacing between elements
- Use horizontal and vertical resizing rules for responsiveness
By structuring with Auto Layout, your design behaves more like real code. It becomes flexible, scalable, and easier to adapt once inside Lovable.
Name Layers Clearly
Avoid generic labels like “Frame 5” or “Rectangle 21.” Instead, name your layers and groups based on their function. Think of your layout like a developer would.
Use names such as:
- Header
- Navigation Bar
- CTA Button
- Hero Section
- Footer
Clear naming helps Builder.io identify components accurately and makes your exported structure easier to work with.
Create Reusable Components
If you have repeated design elements such as cards, buttons, or input fields, turn them into Figma components. This adds consistency to your design and makes it easier to manage in Builder.io and Lovable.
Also, use shared styles for:
- Fonts
- Colors
- Spacing
- Shadows or effects
This design system mindset makes your export cleaner and more scalable.
Choose the Right Export Mode
Builder.io offers two export modes:
- Easy Mode for quick results and simple layouts
- Precise Mode for structured, pixel-perfect output
Easy Mode is great for quick tests or early wireframes. Precise Mode requires a bit more organization but gives you a closer match to your original design.
Once your Figma design checks all these boxes, you are ready to move it into Builder.io and kick off the export.
Next, let’s go through that step-by-step.
Step-by-Step: How to Export Figma to Lovable Using Builder.io
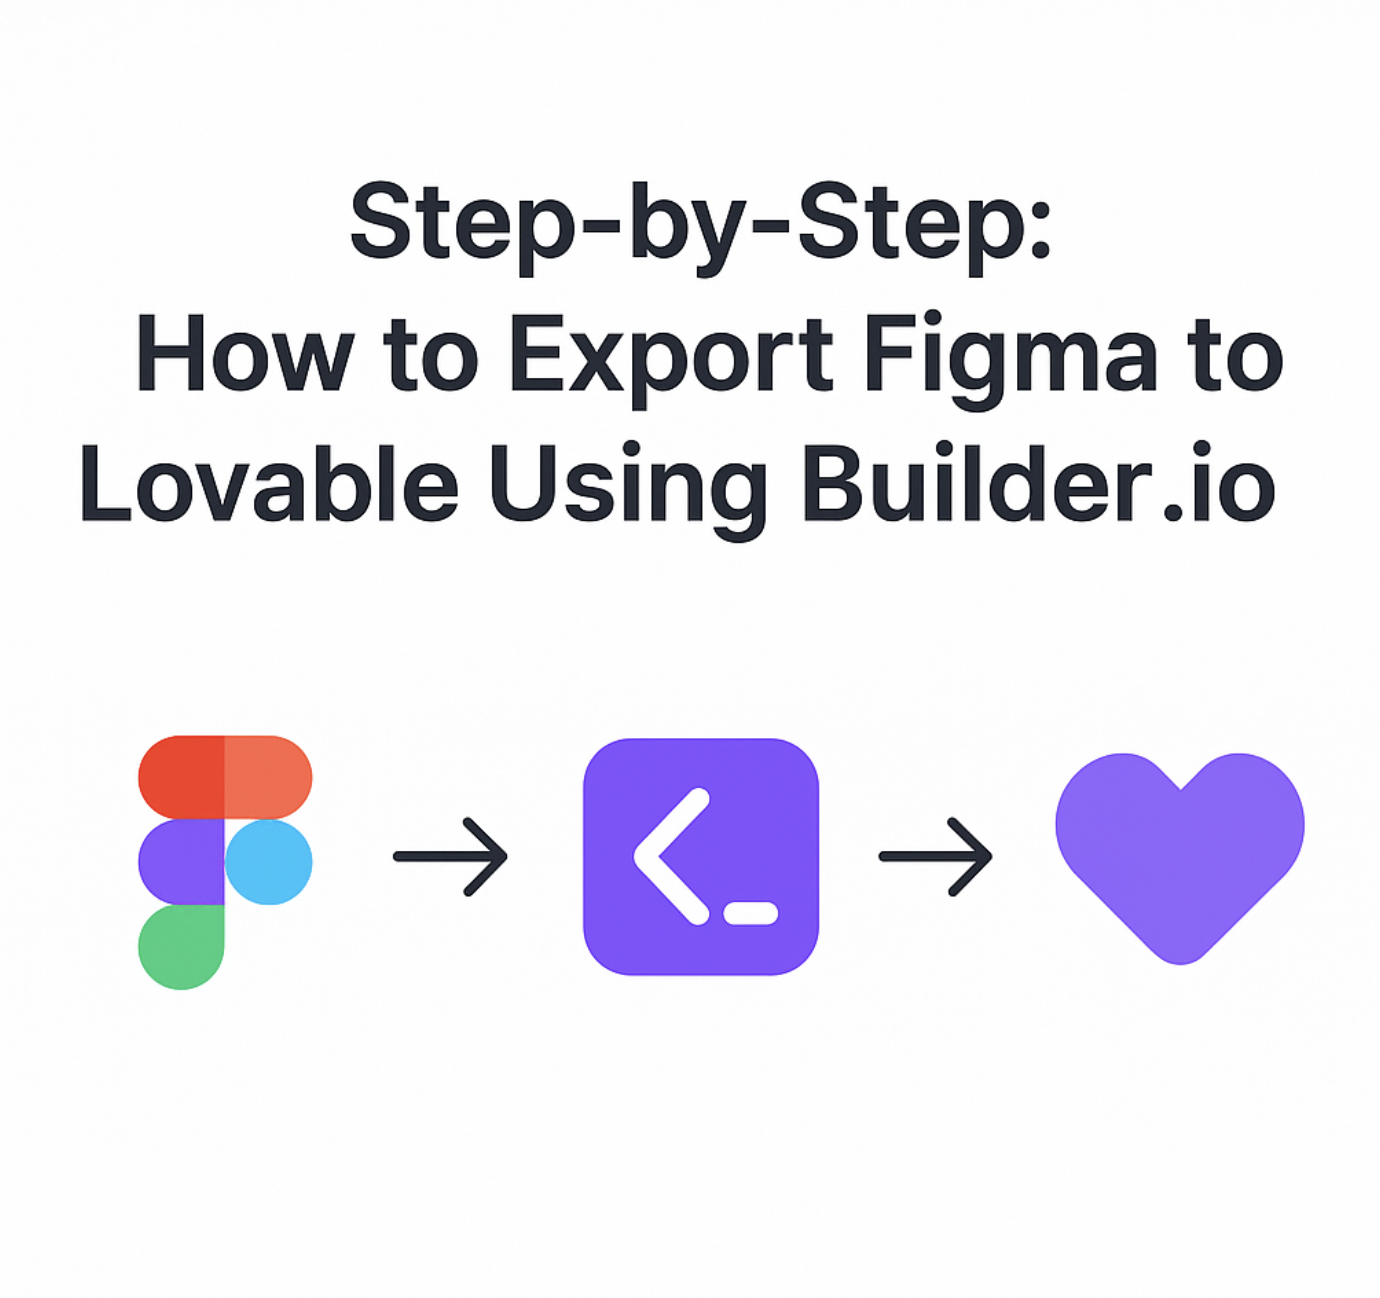
The Figma to Lovable export process is simple once your file is properly structured. Using the Builder.io plugin as the bridge, you can export Figma to Lovable in just a few steps. Here’s exactly how to do it.
Step 1: Open Your Design in Figma
Start by opening the Figma project that contains the frame or layout you want to export. Make sure everything is prepared, with Auto Layout, clear layer names, and reusable components where possible.
Step 2: Install and Launch the Builder.io Plugin
If you have not already done this, install the Builder.io plugin from the Figma Plugin library.
- Go to Plugins from the Figma menu
- Search for Builder.io
- Click Install
- Once installed, launch the plugin in your file
This plugin will allow you to export your design directly to Lovable.
Step 3: Select the Frame You Want to Export
Click on the frame you want to turn into a live app. The plugin will detect its structure and prepare it for export. Make sure your selection includes all the visual elements you want to appear in the final version.
Step 4: Choose Export Mode
You will be prompted to select an export mode:
- Easy Mode gives you a quick layout to test in Lovable
- Precise Mode delivers more accurate rendering and better responsiveness
For polished projects or client work, Precise Mode is usually the best choice.
Step 5: Map Components (Optional but Helpful)
Builder.io may ask you to map key components like buttons, text areas, or cards. This helps Lovable understand how to treat each element in the UI. While not mandatory, this step improves how editable and flexible your app will be later.
Step 6: Export and Open in Lovable
Click Export and then choose Open in Lovable.
Your design will now be live inside the Lovable interface as a working UI. It is not just a static mockup anymore; it is the foundation of a real application that you can style, enhance, and deploy.
Next, let us explore how to bring this exported design to life using Lovable’s powerful AI editing and app-building features.
Tips for Designers Using This Flow
To get the best results when exporting from Figma to Lovable, start thinking like both a designer and a builder. Begin by designing in clean, modular UI blocks. This makes your layout easier to interpret during export and ensures it behaves predictably once live.
Avoid unnecessary nesting of layers. Too many grouped frames or overlapping elements can confuse the Builder.io plugin and make your app harder to work with in Lovable.
Always keep accessibility in mind. Use readable fonts, strong color contrast, and consistent spacing. These choices not only improve user experience but also ensure your app feels polished.
Lastly, reuse components wherever possible. If you are repeating cards, buttons, or input fields, make them Figma components. This speeds up your design process and improves consistency during export and editing.
These small habits will make a big difference once your design becomes a functioning application.
What to Do After You Go Live
Once your app is live in Lovable, the work does not end. It evolves. Start by sharing your app with your community. Whether it is on X, LinkedIn, or in a design group, showing your creation helps gather early feedback and visibility.
Join the Lovable and Builder.io communities as well. These platforms are full of creators, tips, and discussions that can help you grow and improve your projects.
Run real tests with users to see how they interact with your app. Are there any confusing sections? Are people completing actions the way you expected?
Lastly, add simple analytics tools to monitor usage. Understand which sections are working and where users might drop off. Use that data to refine your app over time.
Going live is not the finish line. It is the beginning of a cycle of feedback, iteration, and growth, now fully in your hands.
Conclusion: From Design to Deployment Without Code
Exporting Figma designs into Lovable is more than a shortcut. It is a complete shift in how digital products are created.
By using Figma for design, Builder.io for structure, and Lovable for app functionality, you can take an idea from mockup to live product in record time. No code. No delays.
Whether you are building a prototype, a full product, or just testing concepts, this workflow gives you the power to launch faster and build smarter.
Real-World Use Cases for This Workflow
This process fits a wide range of needs. Here are just a few examples:
- Startups can build MVPs in a day without hiring developers
- Designers can publish polished marketing pages visually
- Agencies can hand off working prototypes instead of flat mockups
- Teams can launch internal dashboards or tools quickly
Example: A creative agency designs a landing page in Figma, exports it to Lovable, adds a form with Supabase, and shares a live version the next day. No dev team required.
If you want to export Figma to Lovable without relying on code, now is the perfect time to start.
The next time you finish a Figma design, do not just share the file. Launch the app.
